Introduction to the integration between Rackbeat and E-conomic
The integrations to e-conomic gives you the opportunities to transfer the following data from Rackbeat to e-conomic:
- Sales invoices
- Supplier invoices
- Products
- Customers
- Suppliers
- Inventory value ledger
You should be aware that it is only possible to transfer data from Rackbeat to e-conomic and not the other way around.
Installation of the integration
You can install the integration between Rackbeat and e-conomic either via your Rackbeat account or via e-conomic Market. In this article, we guide you through how to do the installation via your Rackbeat account.
If you would rather learn how to install the integration via e-conomic Market, we have made the article "Rackbeat via e-conomic Market" for you.
The installation of the integration between Rackbeat and e-conomic is available in Rackbeat's App Section, which you will find under ''User Settings'' (top right corner) in the ''Apps'' menu on the left.
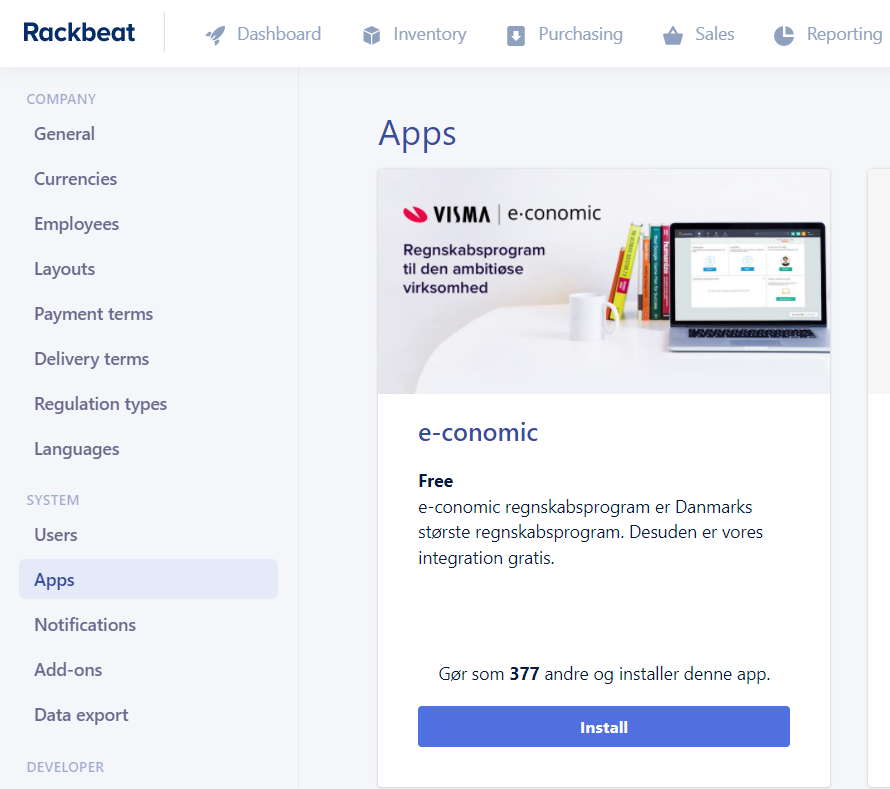
When you set up the integration, you have to be logged in to your e-conomic agreement. Click on ''Install''. After doing this you will be asked to add and accept the integration in e-conomic.
Now you will get to the settings part of the integration setup.
Settings
We will start from the bottom of the integration settings page. Here you have the option to do a start up synchronization, which will allow you to transfer data from your e-conomic agreement to Rackbeat. The following data will be transferred:
- Item (product) groups and products (all groups are created with stock activated in Rackbeat - make sure to change this before transactions)
- Customer groups and customers
- Supplier groups and suppliers
- Layouts
Set a check mark in the bottom of the settings page if you wish to have a start up synchronization.
the start up synchronization can only be done once!
If you wish to have data transferred from e-conomic to Rackbeat, this is the only time this is possible, and is therefore important that you do the synchronization in cohesion with the setup of the integration.
Now that you have taken care of the most important aspect of the setup, you can scroll up to the top of the settings page. Now we will go through step by step the setup for the rest of the integration settings.
Supplier Invoices
Here you have the choice to activate creditor integration.
If you set a check mark here, suppliers, supplier invoices, orders etc. will be synchronized.
If you have chosen to integrate these, you have to consider the following:
In the field ''Account for supplier groups'' you have to choose which creditor account in e-conomic you want to use for suppliers.
In the field ''Day book'' you have to choose which day book in your e-conomic agreement you wish to have your supplier invoices transferred to.
We recommend that you create a unique day book for supplier invoices coming from Rackbeat.
Accounting
In the field ''Standard account if none are chosen'' you have to choose which account should be used for products purchased.
In the matrix below you have to choose the specific accounts you want linked from you e-conomic account to each of the products groups to define their VAT zones. It is important to be aware of which accounts you choose for each so that you get the correct VAT attached to the products being purchased.
Customer invoices
Here you have the choice to activate debitter integration.
If you set a check mark here , customers, customer invoices, orders etc. will be synchronized.
If you have chosen to integrate these, you have to consider the following:
In the field ''Use actual quantity when creating'' you have to choose whether you want the actual quantity (product price/quantity) to be transferred to e-conomic.
If you set a check mark here, the actual product quantity will be included on customer invoices.
OBS! If you use more then 2 decimals on prices in Rackbeat, you have to be aware that this function may cause issues in the value in e-conomic.
In the field ''Post invoices in e-conomic when posted in Rackbeat'' you have to choose, whether you want completed invoice in Rackbeat to be transferred as either posted/completed or drafts to e-conomic. If they are transferred as posted/completed, the invoice will be placed in the archived folder.
If you set a check mark here, invoices will be sent as posted/completed to e-conomic.
If you don't set a check mark here, invoices will be sent as a draft to e-conomic.
In the field ''Never post EAN invoices'' you have to choose whether you want invoices that contain an EAN number to be transferred to e-conomic as posted. This option is only relevant if you have chosen to use the previous setting ''Post invoices in e-conomic when posted in Rackbeat'' since Rackbeat is unable to send invoices via EAN and it has to be done manually in e-conomic.
If you set a check mark here, invoices with EAN will never be transferred as posted.
OBS! If you have chosen ''Never post EAN invoices'' it is important that you have also set a check mark in ''Post inovices in e-conomic when posted in Rackbeat'' - other the settings wont function properly in the system.
In the field ''Mark invoices as sent when posted in e-conomic'' you can choose whether invoices should be marked as ''sent'' in Rackbeat when they are posted in e-conomic.
If you set a check mark here, customer invoices will be marked as completed.
The field ''Product nr. for empty e-conomic product lines'' is used if you have a product line in e-conomic that doesn't have specific product. Rackbeat always needs a product connected to a product line.
We recommend, that you create a product in Rackbeat without inventory that can be connected to the product lines in e-conomic that is without products. This could be called ''Product''
In the field below you should provide the product number of the product that should be connected to the empty product lines created in e-conomic.
In the field ''Activate One Stop VAT'' you have the option to activate the One Stop VAT rules for customers being transferred from Rackbeat to e-conomic. Read more about One Stop VAT here.
Product and groups
In the field ''Use actual cost price'' you can choose whether we should provide the products ''actual cost price'' from Rackbeat instead of the ''recommended cost price''.
Layouts
Here you can choose which layouts in e-conomic should be matched with layouts in Rackbeat.
It is on the individual customer settings you can choose which layout should be attached to them specifically.
Daily inventory value update
In the field ''Activate inventory value synchronization'' you can choose whether the inventory value should be transferred from Rackbeat to a chosen account in e-conomic (you choose which account further down the page)
If you set a check mark here and activate the synchronization, you have some information to decide upon:
In the field ''Frequency'' you have to choose how often the inventory value should be transferred to e-conomic. These are your options:
- Daily
- Weekly
- Monthly
In the field ''Day book'' you have to choose which day book the inventory value report should be transferred to. You can choose a specific day book from your e-conomic account.
It is important that you choose a day book that can handle finances
In the field ''Inventory account'' you have to choose which inventory account in e-conomic the inventory value report should be transferred to from Rackbeat. If you aren't sure which account should be used here, please contact your accountant.
In the field ''Offset account'' you have to choose which offset account in e-conomic should be used when transferring cost from Rackbeat. If you aren't sure which account should be used here, please contact your accountant.
That was all the settings!
Click on ''Activate integration'' to complete it.
You can always return to these settings later and edit them where necessary.
When the integration is activated
When the integration is fully activated, you will see a new field in the bottom of the setting:
''Manually transfer customer invoice to e-conomic''
This field can be used when a posted invoice in Rackbeat isn't transferred to e-conomic. You do this by typing in the invoice number from Rackbeat and then it will manually push it through.
OBS! Be aware that this function can cause issues with invoices being transferred multiple times. Therefore we recommend that you contact our support team before using this function.