Dive into Rackbeat's sales module, which efficiently handles everything from offers to invoices, and discover how you can streamline your sales activities. Below, you can see the categories we will go through together.
- Working in the module
- Create an offer
- Convert an offer into an order
- Create a shipment
- Create an invoice
Working in the module
It is not required that you go through all the steps for every salesorder (Offer → Order → Shipping → Invoice), you can easily create a direct order or invoice, but in this article we go through the workflow from Offer to Invoice.
Tip! If you have a webshop it can be integrated to Rackbeat - that means orders placed in the webshop will be created in Rackbeat automatically.
Create an Offer
In Rackbeat, you can create an Offer for a customer, which you can subsequently convert into an Order if the customer accepts the offer. Below we guide you through how to create an offer.
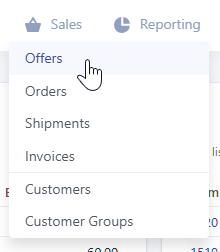
- Select the 'Sales' tab at the top of the page, and click on 'Offers':
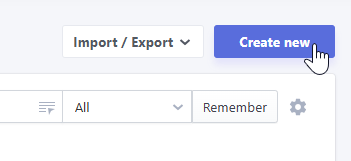
- Click the 'Create New' button in the top right corner
- Select a customer from the list.

- Details can be added after clicking 'Create and edit' by entering the desired information into the available fields within the quote.
- Add products and finish by sending the quote to the customer.
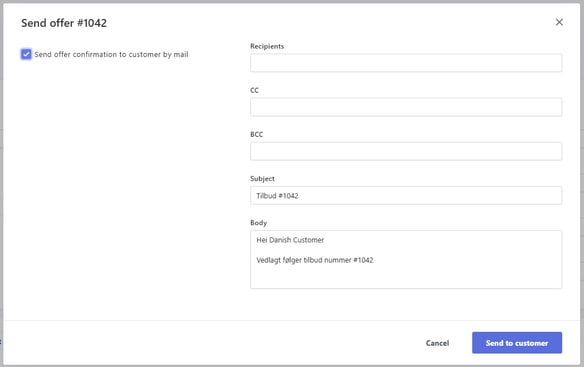
- You can reach the point where you can send the quote by clicking 'Confirm'"
- You can reach the point where you can send the quote by clicking 'Confirm'"
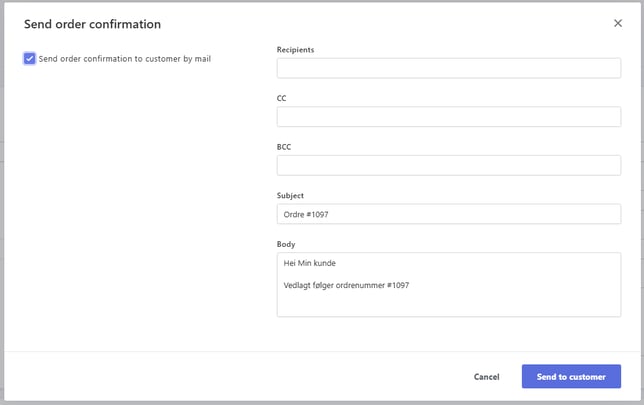
TIP! You don't need to send the quote to your customer by email in order to confirm it. If you prefer not to send it via Rackbeat, simply uncheck the box in the upper left corner of the window shown above.
Convert an Offer to an Order
- Find your offer under 'Sales' > 'Offers'
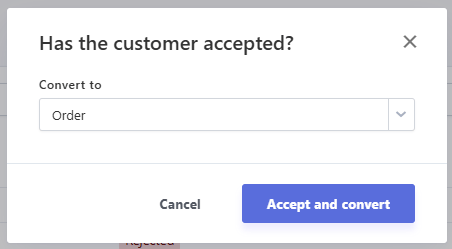
- Hold your mouse over the three dots and click on 'Customer has accepted'.

-
Convert the offer to an order and edit it:
-
Once you've adjusted your order to meet your needs, you can confirm it by clicking 'Confirm'.
-
Here, you can choose whether to send the order confirmation to your customer.
Create a shipment
- Find your order under 'Sales' > 'Orders'
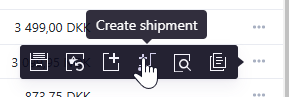
- Create a shipment directly from the order by holding your mouse over the three dots and click on 'Create shipment'
- Select the items to be shipped and click 'Pick.'
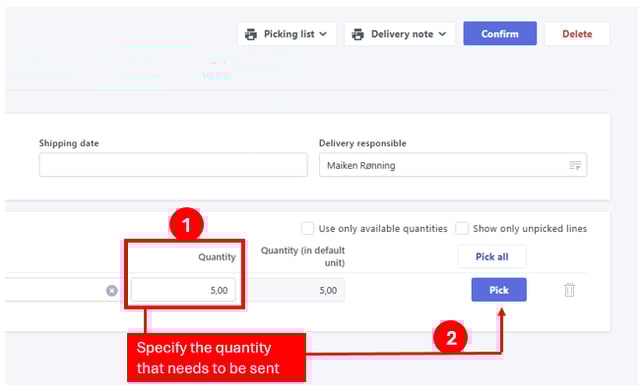
- Click 'Confirm' to send the items out of the warehouse.
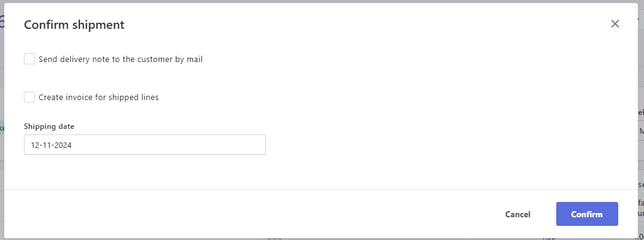
- If the date is different from todays date, a new pop-up will ask you to confirm or change the date.
- Choose whether to email a packing slip to the customer and whether to create an invoice for the shipped items.
-
If you choose to click on 'Create invoice for shipped items', you'll also have the option to mark the invoice as posted, which will automate the next step.
-
Create an Invoice
-
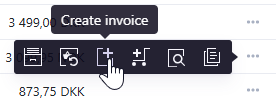
From your sales order, select 'Create Invoice'.
-
Edit the invoice details if needed.
- Finish by posting and sending the invoice to the customer.
- You can choose whether to include shipping, but this option is only available if the items have not yet been shipped from your warehouse.
NOTE: If you remove a line from the invoice that is present on your order, the order will be marked as partially invoiced.
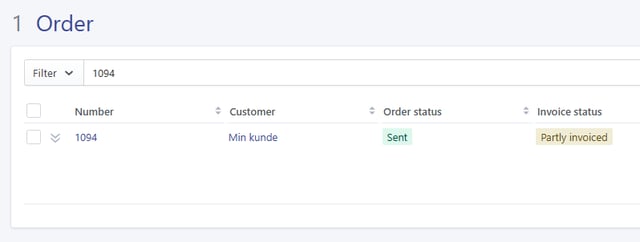
The order will not be archived because it hasn’t been fully processed.
Solution: Invoice the remaining lines on the order, and it will be archived. If these lines should not be invoiced, you can create a credit note and credit them instead.
The same applies if you change the unit on the invoice to something different from what is on the order.
TIP! Rackbeat generates unique order numbers automatically starting from 1001. You can adjust the number-series under 'Company settings' > 'General' > 'Numbers'
Rackbeat’s sales module is designed to provide you with control and efficiency in your sales process.
Experiment with the various features to find the workflow that best suits your business, and don’t hesitate to reach out to our support team for additional guidance on optimizing your processes.